OUR HANDY GUIDE TO POUR OVER COFFEE
What's Up Whittier Coffee Lovers!
We just wanted to share our method for pour over coffee that we use at the shop. This is something that you can do very easily at home with just a small investment in basic equipment needs, to get a balanced, nuanced and delicious cup of coffee. 
So what is a pour over? A pour over starts with pouring near-boiling water over ground coffee suspended in a paper filter. As water saturates the grounds and passes through, water-soluble lipids, sugars, aromas and flavors are pulled into your mug or carafe.
Things You'll Need:
- Dripper (Hario V60 preferred)
- Paper Filter (appropriate shape for dripper of choice)
- Coffee Beans (20g-22g)
- Mug/ Carafe
- Goose-Neck Kettle (Hario preferred)
- Scale (big enough to hold a mug)
- Timer
- Coffee Grinder (preferably a burr grinder)
- H2O (near boiling/ 202*F)
STEP 1: Place dripper on mug/carafe and fold paper filter into dripper.
STEP 2: Pour boiling water over paper filter, pre-wetting the filter and pre-heating the mug. Discard the water.
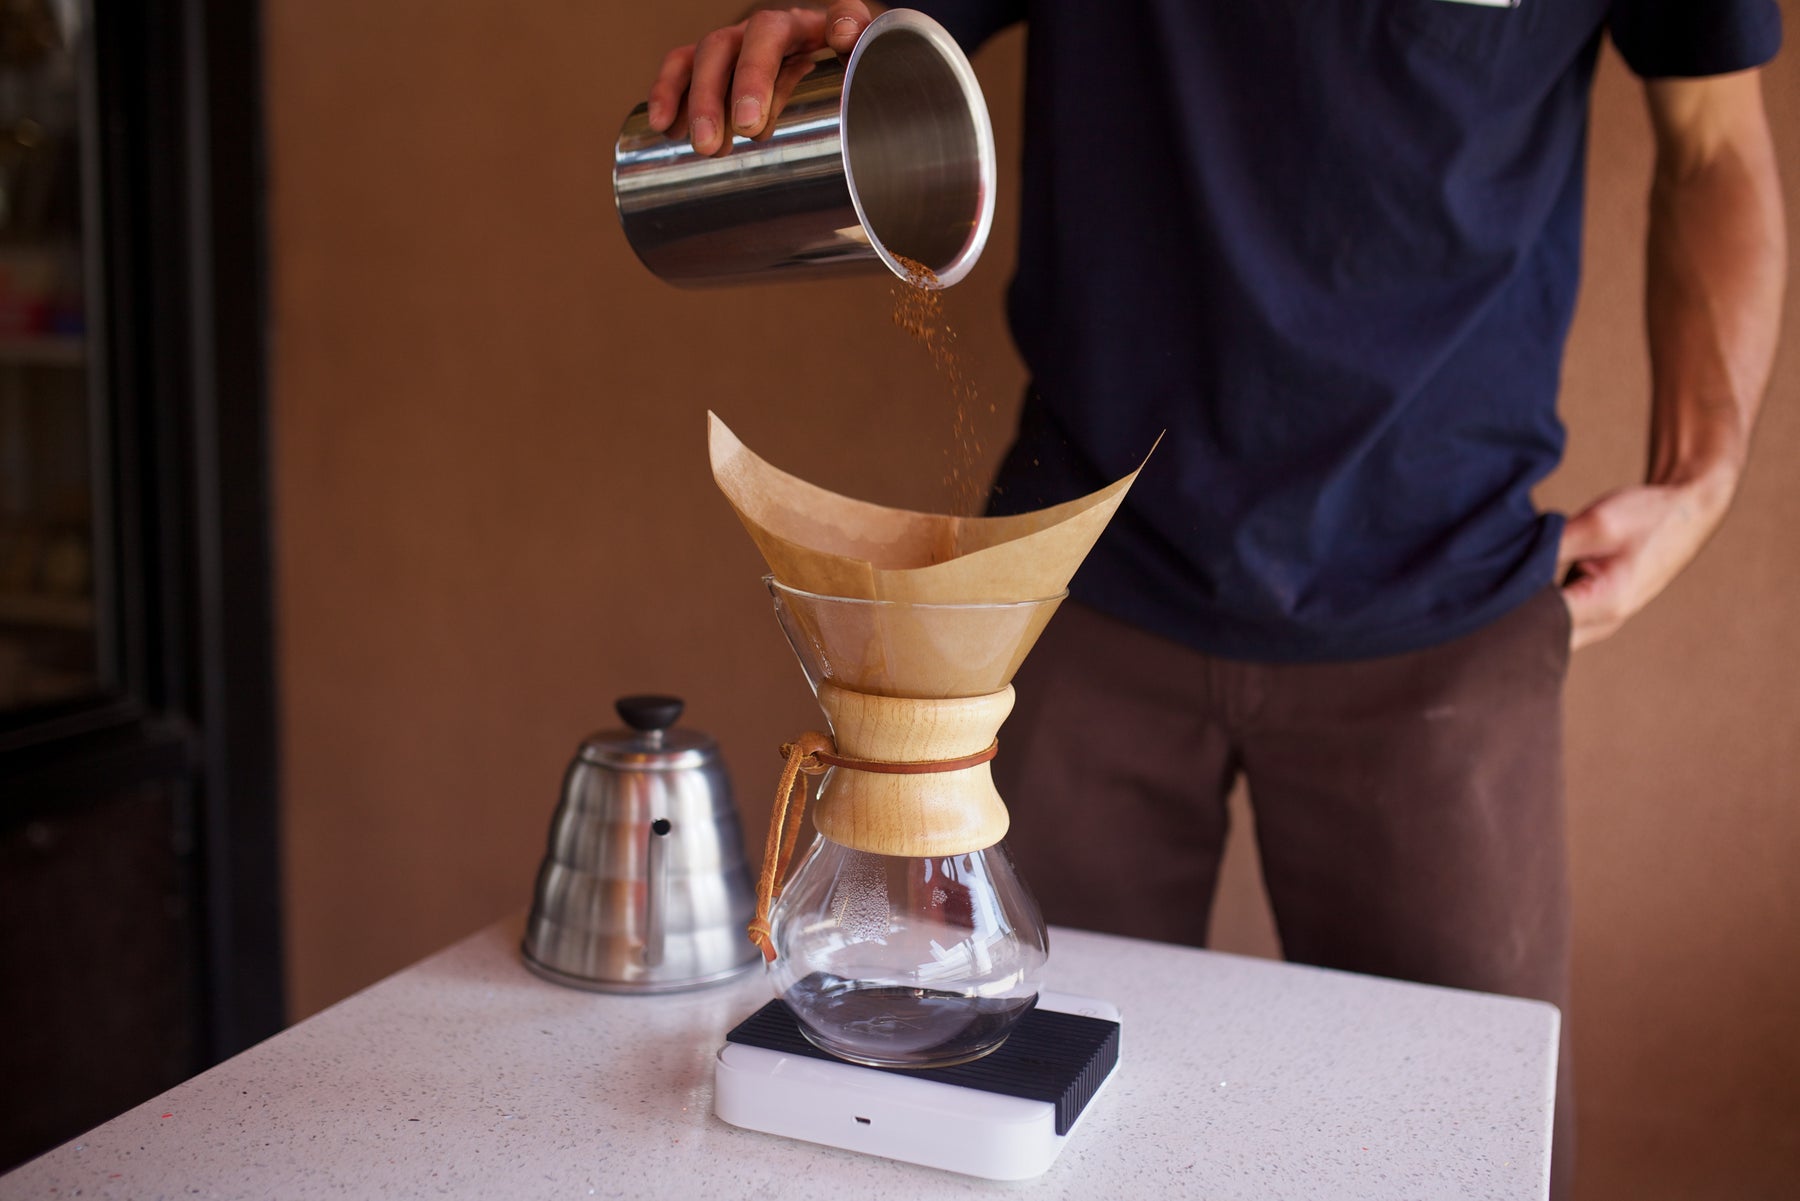
STEP 3: Weigh out coffee using the scale (20g-22g), grind coffee (med-fine, size of kosher salt), pour grounds into the pre-soaked filter/dripper. Make sure the bed of coffee is flat and leveled by tapping it lightly.
STEP 4: Place the entire set up onto a scale and tare the weight to zero. Fill your kettle with near-boiling water.
STEP 5: Starting in the middle, saturate the grounds with water. Pour 40g-45g of water only and let the mixture sit for :45 seconds. This stage of the brew process is known as "the bloom. Gases are being released from the coffee beans, and you should see a ton of air bubbles forming if you are using fresh coffee.
STEP 6: As your timer reaches :45, make sure the water is hot and pour to 160g on the scale, starting in the middle and pouring in a circular motion. After this step, the timer is arbitrary to the rest of your process. Pay attention to the scale only.
STEP 7: The rest of the process involves watching the coffee drain from the filter. Wait for the coffee to drain about 1/2 inch from the top of the coffee bed, then pour in the same manner as STEP 6 until you reach your the correct weight (300g-330g) which is based on the amount of coffee you started with.
STEP 8: Let the coffee drain through the grounds
STEP 9: Wipe the sweat off your brow, and enjoy your handiwork!
All this takes is a little practice for it to become second nature. As with anything else, the more you do it, the less you'll have to think about all the different steps.
SIDENOTES:
We use 20g-22g of coffee because every coffee is different and coffee ages from day to day, meaning we may need to use more or less than a set recipe.
Avoid pouring water onto the paper filter while brewing, and make sure to only pour on top of the coffee grounds.
The typical coffee to water brew ratio is 1:15, which roughly equals 21g of coffee for 315g of water.
Please let us know if you have any questions in the comments below. Cheers!